Repairing a double pane window can seem daunting, but with the right approach and attention to detail, it’s a manageable task. In this guide, we’ll walk you through the process step by step, from assessing the damage to completing the repair and ensuring long-term maintenance. Let’s dive in!
Step 1: Assess the Damage
Before beginning any repair project, it’s essential to assess the extent of the damage. Inspect both the interior and exterior of the window for cracks, chips, or fogging between the panes. Determine whether the issue can be addressed with a simple repair or if the entire window unit needs replacement.
Step 2: Explore Repair Options
Once you’ve identified the damage, explore different repair options available for double pane windows. Consider factors such as cost, convenience, and the extent of the damage when choosing the best repair solution for your situation. Consult with window repair specialists or manufacturers to explore available options and obtain quotes for the repair.
Step 3: Measurements and Ordering
Take precise measurements of the window opening or the dimensions of the damaged pane. Double-check the measurements to ensure accuracy, as even small discrepancies can affect the fit of the replacement part. Provide the measurements to the manufacturer or repair company when ordering replacement parts to ensure they are custom-made to fit your window.
Step 4: Prepare for Installation
Gather all necessary tools and materials for the repair, including a utility knife, silicone sealant, glass cleaner, replacement glass or sash, and any additional hardware. Clear the work area of any obstacles and ensure you have adequate space to maneuver around the window. Consider protecting surrounding surfaces with drop cloths or plastic sheeting to prevent damage during the repair process.
Step 5: Remove the Damaged Glass or Sash
Carefully remove any trim, molding, or hardware surrounding the damaged glass or sash using a putty knife or pry bar. Use a utility knife to cut through any existing sealant or adhesive holding the glass in place, taking care not to damage the window frame. Gently pry the old glass or sash out of the window frame, being mindful of sharp edges and fragile materials.
Step 6: Install the Replacement
Clean the window frame thoroughly to remove any dirt, debris, or old sealant that could interfere with the installation of the replacement part. Apply a thin, even bead of silicone sealant around the perimeter of the window frame if replacing the glass pane, ensuring complete coverage. Carefully insert the replacement glass or sash into the window frame, pressing it firmly into place to create a tight seal with the silicone.
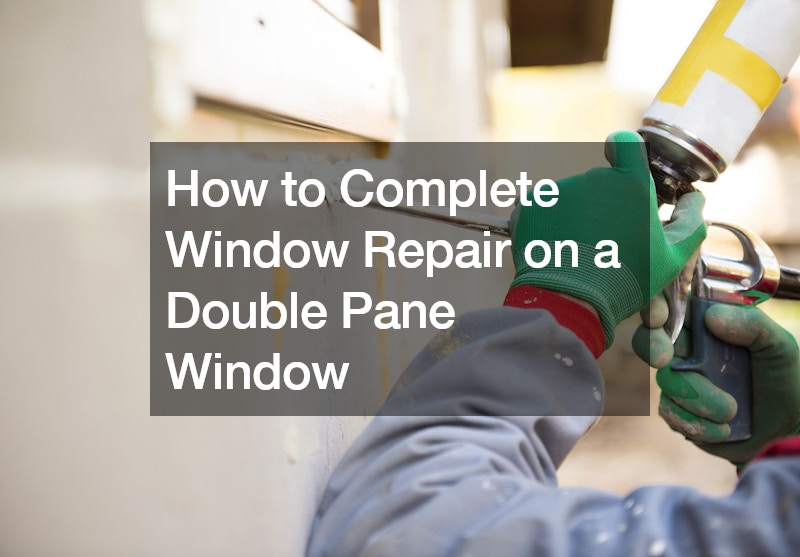
Step 7: Secure and Seal
Use additional sealant or adhesive as needed to ensure a watertight seal between the replacement part and the window frame. Reinstall any trim, molding, or hardware that was removed during the repair process, securing it firmly in place to prevent air or water infiltration.
Step 8: Allow Time to Cure
Give the sealant and adhesive ample time to cure according to the manufacturer’s instructions, typically 24 to 48 hours. Avoid operating the window during this time to allow the sealant to set properly and prevent any shifting or misalignment of the replacement part.
Step 9: Final Inspection
Once the sealant has cured, inspect the repaired window carefully for any signs of damage, leakage, or improper installation. Test the operation of the window to ensure it opens and closes smoothly without any sticking or binding. Address any issues or concerns promptly to ensure the long-term performance and durability of the repaired window.
Step 10: Maintenance Tips
Implement a regular maintenance routine for your repaired window, including cleaning the glass and frame regularly with mild detergent and water. Inspect the sealant and weather stripping periodically for signs of wear, damage, or deterioration, and replace them as needed. Keep the window tracks clean and free of debris to ensure smooth operation and prevent damage to the hardware. Address any issues or concerns promptly to prevent further damage and maintain the integrity of your double pane window for years to come.
Repairing a double pane window may seem like a daunting task, but with the right approach and guidance, it’s entirely manageable. By following the steps outlined in this guide, from assessing the damage to completing the repair and ensuring long-term maintenance, you can successfully restore functionality and appearance to your window. Remember to take accurate measurements, explore repair options, and follow proper installation techniques for the best results. Regular maintenance of the repaired window is also essential to prolong its lifespan and prevent future issues. With patience and attention to detail, you can tackle window repair with confidence and enjoy the benefits of a well-maintained home for years to come.
.
