If you’re like many homeowners, you may need a little more storage space from time to time. A simple utility shed can be the perfect solution for your needs, and it can be easy to build if you have some basic carpentry skills. Many people choose to buy a kit for an easy project, but if you want to make yours from scratch, you need a few more things to prepare.
This article will show you how to build a simple utility shed in your backyard in a few easy steps.
1. Choose the right location
The first step is to find a level spot in your yard that gets good sunlight and is close to a water source. When choosing the location, keep in mind that you’ll need access to the shed for gardening tools and other supplies, so make sure the path to the shed is clear and easy to navigate.
Once you’ve found the perfect spot, use a string and line level to ensure the area is level. You can use a shovel to level it out if it’s not. This is important because a level foundation will make the shed easier to build and help it last longer.
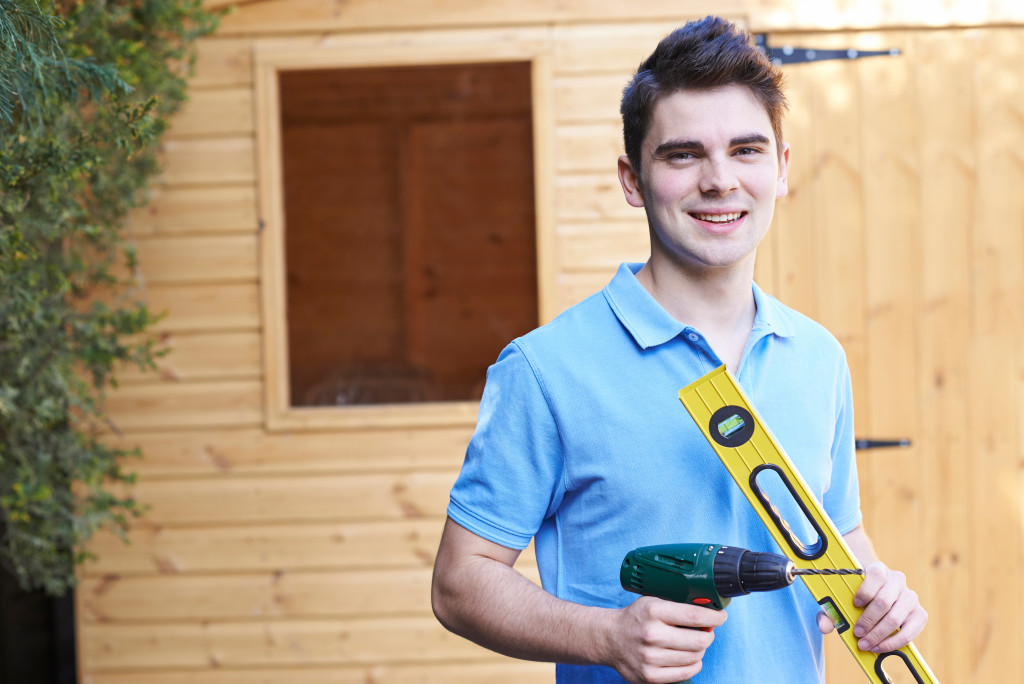
2. Choose your materials
The next step is to gather the building supplies. Depending on the shed you want to build, you may need different materials. For a small shed, you can use lumber 8 feet long and 4 feet wide. If you’re going to build a larger shed, you can use lumber 10 feet long and 6 feet wide. You will also need a drill, a 1-inch hole saw, a jigsaw, a hammer, nails or screws, and exterior-grade plywood.
You want to buy the best quality lumber you can afford because it will make the shed last longer. If you live in an area with a lot of wind, you may want to use hurricane ties to secure the lumber. These are metal straps that you nail or screw into the lumber to hold it together.
3. Create a foundation
The next step is to create a foundation for the shed. You can do this by pouring concrete footings for each corner or setting cinder blocks into the ground. If you live in an area with a lot of rainfall, you may want to consider creating a raised foundation to keep the shed from flooding.
Many people choose to build a wooden frame for their shed on top of the foundation. This is unnecessary, but it can make the shed stronger and more durable.
4. Build the frame
Once you have the foundation in place, you can start to build the frame of the shed. Begin by cutting the lumber to size and then nailing or screwing it together. If you’re using plywood for the walls, you can attach it with nails or screws to the frame. You also want to ensure the shed is well-ventilated by installing a few vents on the walls.
Don’t forget to add a doorframe and a door. You can use a pre-hung door or build one yourself. You’ll need to add weatherstripping to keep the elements out if you make your own door.

5. Add the roof
The roof of your shed is a crucial part of the structure. It’s what will keep the rain and snow out, so you want to make sure it’s well-built. Begin by cutting the lumber to size and then nailing or screwing it into place. You can use asphalt shingles, metal roofing, or even a tarp to cover the roof. Ensure the roof is secure and well-ventilated to avoid any problems later on.
You should also add gutters to the shed to direct the water away from the structure. This will help keep the shed dry and prevent any moisture damage. Some people like to add a skylight to their shed for added ventilation and natural light.
6. Finish the exterior
The final step is to finish the exterior of the shed. You can do this by painting or staining the shed. If you want to add any extra features, now is the time to do it. Some people like to add a porch or deck, while others add flower boxes or landscaping.
You can also add storage shelves or hooks on the inside of the shed to help organize your gardening supplies. Once you’ve finished the shed, you can enjoy your new space.
Building a simple utility shed for your home doesn’t have to be complicated or expensive. You can create a shed that will last for years to come by following these tips. If you take your time and use quality materials, you’ll have a shed that you can be proud of. Just remember to get all the necessary permits before you start building.