Key Takeaways:
- Smoke detectors should be checked regularly, not just when they start chirping, because internal issues like battery failure, dust buildup, and sensor degradation can happen silently over time.
- A consistent maintenance routine is essential, including monthly quick checks, periodic cleaning every few months, annual battery replacement, and full unit replacement every 8–10 years.
- Proper placement matters as much as functionality, with detectors needed in every bedroom, outside sleeping areas, and on every level of the home to ensure full coverage without blind spots.
- The built-in test button confirms basic electrical and alarm function, but it does not fully verify the smoke sensor itself, meaning occasional deeper inspection is still important.
- If a detector fails to respond properly, common causes include weak batteries, dust accumulation, wiring issues, or age, and replacement is often safer than repeated troubleshooting.
- Regular cleaning and maintenance significantly improve reliability by preventing dust and debris from interfering with sensor performance or causing false alarms.
- Smoke and carbon monoxide detectors work best as a paired safety system, and both require similar testing habits to ensure complete household protection.
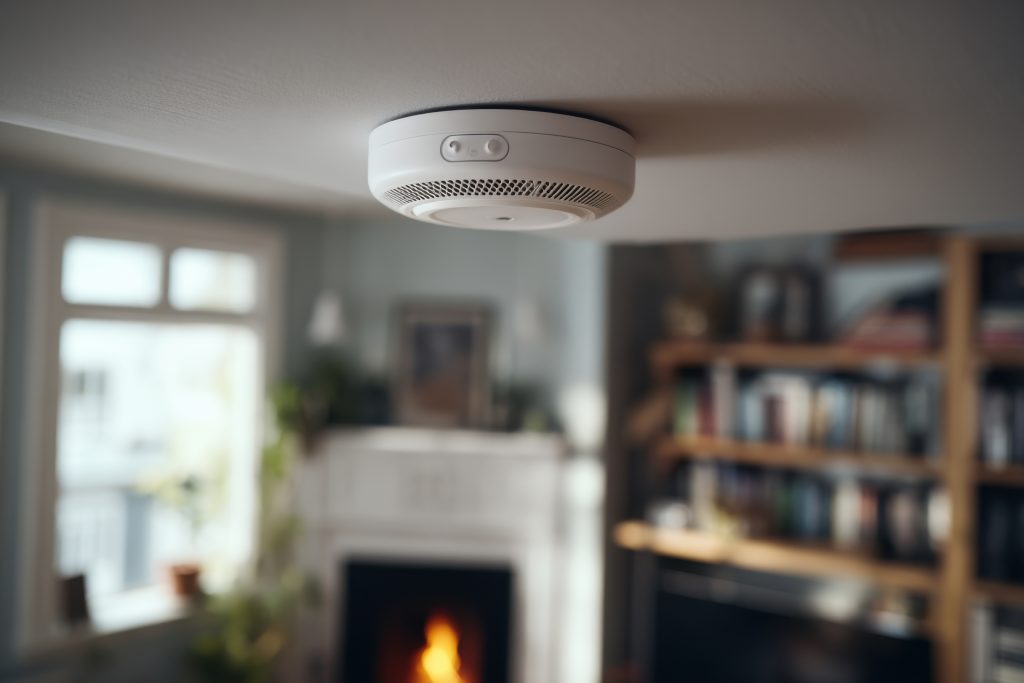
Moving into your first home comes with a long list of responsibilities—some exciting, others easy to overlook. Among the most important is making sure your home’s safety systems are working properly. Smoke detectors sit quietly on your ceiling, often forgotten until they chirp or go off unexpectedly. But when a real emergency happens, they’re one of the few things standing between a close call and a disaster.
Learning how to test a smoke detector isn’t complicated, but doing it correctly—and consistently—can make a real difference. This guide walks you through everything you need to know, from basic testing steps to common mistakes and long-term maintenance.
Why Testing Matters More Than You Think
It’s easy to assume that if a smoke detector is installed, it’s working. Unfortunately, that’s not always the case. Batteries die, sensors degrade, and dust buildup can interfere with performance.
A smoke detector that doesn’t function properly is almost as dangerous as not having one at all. Fires can spread quickly, and early warning is critical. Testing ensures:
- The alarm sound is loud and clear
- The power source (battery or wired connection) is active
- The sensor is responsive to smoke or simulated smoke
- The unit hasn’t silently failed over time
Many homeowners only think about their detectors after hearing that annoying low-battery chirp. By then, the device may have already been unreliable for weeks.
How Often Should You Check Your Detectors?
If you’re unsure how often to test, you’re not alone. Many first-time homeowners assume once a year is enough, especially if the detectors were recently installed. But smoke alarms are one of those systems that quietly degrade over time without obvious warning signs. Batteries weaken, sensors collect dust, and internal components slowly lose accuracy.
The safest approach is to build a simple, repeatable routine that keeps everything in check without feeling overwhelming. You don’t need to overthink it, but you also don’t want long gaps between tests where problems go unnoticed.
A better schedule looks like this:
- Monthly: Quick button test to confirm the alarm sounds properly
- Every 6 months: Remove the cover and clean dust or debris buildup
- Annually: Replace batteries if your unit is not sealed or hardwired with backup
- Every 8–10 years: Replace the entire smoke detector, even if it still works
It helps to treat this as part of your general home upkeep rather than a separate chore. Smoke detector maintenance fits naturally alongside other maintenance tasks new homeowners should schedule, like checking plumbing, servicing HVAC systems, or inspecting roofing. When these routines are grouped together, they’re much easier to remember and maintain consistently.
Over time, this schedule becomes second nature, and you reduce the risk of unexpected failures when you need protection the most.
Where Are Your Detectors Located—and Is It Enough?
Before you even begin testing, it’s worth checking whether your smoke detectors are placed correctly. A perfectly functioning detector won’t help much if it’s installed in the wrong location or if your home simply doesn’t have enough of them.
Proper placement is about coverage. You want early warning in every part of the home, especially where people sleep or where fires are more likely to start or spread unnoticed.
Most homes should have detectors:
- Inside every bedroom, so each sleeping space has direct protection
- Outside sleeping areas, such as hallways or common corridors
- On every level of the home, including basements and finished attics
- Near kitchens (but not directly inside them to avoid false alarms)
- Near bathrooms, while keeping distance from steam-prone areas
It’s also important to think about layout rather than just counting devices. Open floor plans, multi-story homes, or extensions may require additional units for full coverage.
Even if your detectors are working perfectly, gaps in placement can create blind spots. That’s why testing alone isn’t enough—you also need to confirm the system is properly distributed throughout the home.
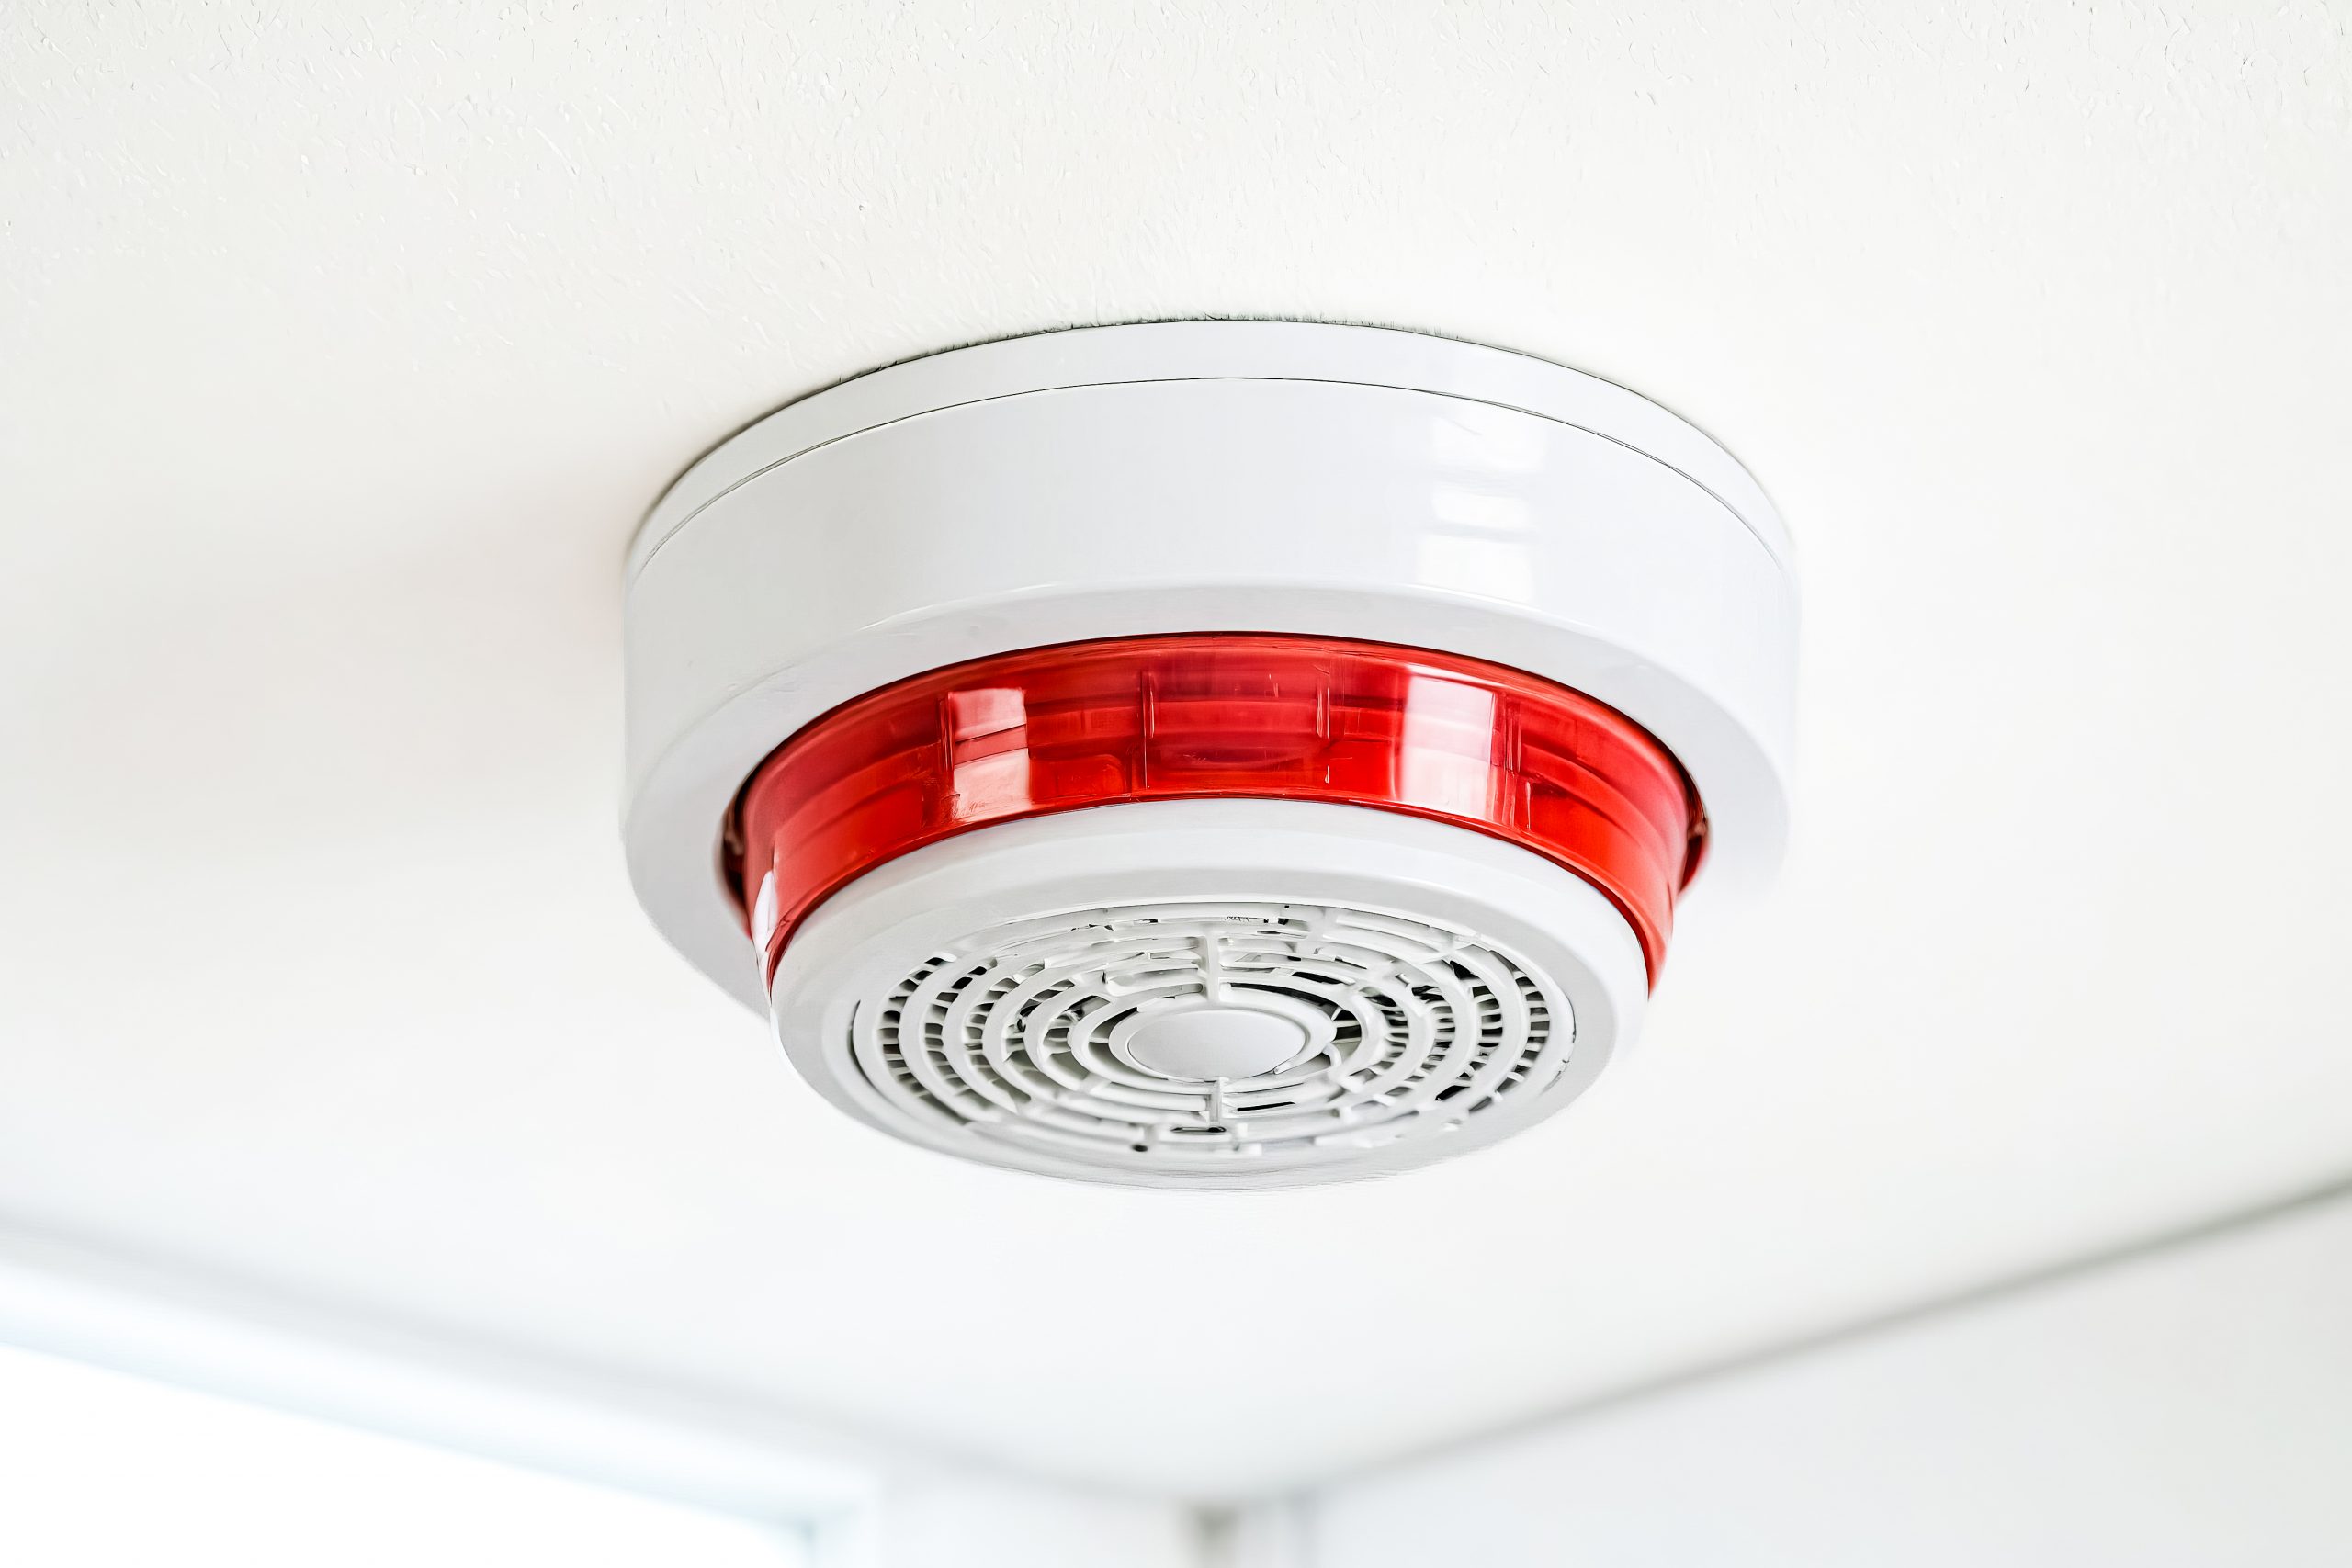
How to Test a Smoke Detector
Testing a smoke detector doesn’t require any tools or technical experience, which is good news for first-time homeowners. The built-in test button is designed to give you a quick and reliable way to confirm basic functionality.
Still, doing it correctly matters. A rushed or incomplete test can give you a false sense of security.
Step-by-Step Basic Test
Here’s a simple but effective process to follow:
- Locate the test button: Usually found on the front or side of the unit. It may be labeled “Test” or shown with a small icon.
- Press and hold the button: Hold it down for a few seconds until the alarm activates. Don’t just tap it quickly.
- Listen carefully to the alarm: The sound should be immediate, loud, and consistent without fading or distortion.
- Release the button: The alarm should stop shortly after releasing it.
A properly functioning detector will respond quickly and clearly. If the sound is weak, delayed, or doesn’t activate at all, that’s a sign something needs attention.
In most cases, issues are related to batteries or dust buildup, but repeated failure usually means replacement is necessary.
What Does the Test Button Actually Check?
The test button is useful, but it’s important to understand its limitations. Many homeowners assume it fully simulates a real smoke event, but it doesn’t.
Instead, the test button mainly verifies basic internal functions:
- The power source is active and connected
- The alarm speaker is working properly
- The internal circuitry is responding as expected
What it doesn’t fully test is the actual smoke sensor itself. That means a detector could pass a button test but still struggle to detect real smoke under certain conditions.
This is why occasional deeper checks or sensor-based testing methods can be helpful, especially for older units or homes that haven’t had their detectors inspected in a while.
Should You Test With Real Smoke?
It’s natural to wonder whether using actual smoke is a better way to test accuracy. While it does interact more directly with the sensor, it’s not always the safest or most practical method for homeowners.
Using open flames or improvised smoke sources can create unnecessary risks or damage the detector if done incorrectly.
Safer Alternatives Include:
- Smoke test aerosols designed specifically for detectors
- Incense sticks, used cautiously and at a controlled distance
- Professional testing tools, typically used during inspections or maintenance visits
These alternatives allow you to simulate smoke conditions without introducing fire hazards or excessive residue inside the device.
The key is controlled testing, not improvisation. A smoke detector should never be exposed to anything that could physically damage its components or create unsafe conditions in the home.
What If the Alarm Doesn’t Go Off?
If your smoke detector doesn’t respond during a test, it doesn’t automatically mean it’s broken—but it does mean you need to investigate further. Treat it as a warning sign rather than a failure.
Start with the most common causes before assuming replacement is necessary.
Begin With These Checks:
- Battery condition: Replace batteries even if they seem fine or recently installed
- Power supply: For hardwired systems, check circuit breakers or wiring connections
- Age of the unit: Detectors older than 10 years are typically past their reliable lifespan
- Dust or debris: Accumulated dust can block sensors and reduce responsiveness
If the detector still fails after these steps, replacement is usually the safest option. Smoke detectors are relatively inexpensive compared to the protection they provide, so it’s not worth delaying a swap when reliability is in question.
Why Smoke Detectors Fail Over Time
Even well-maintained smoke detectors don’t last forever. They are electronic devices exposed to environmental conditions like dust, humidity, and temperature changes, all of which slowly affect performance.
Over time, internal components degrade in subtle ways that aren’t always visible from the outside.
Common causes of failure include:
- Gradual sensor degradation that reduces detection sensitivity
- Battery corrosion or leakage that interferes with power flow
- Electrical inconsistencies in hardwired systems
- Environmental exposure such as steam, dust, or cooking residue
Because these changes happen slowly, regular testing becomes your first line of defense in catching issues before they become serious.
How to Clean Your Smoke Detector Properly
Cleaning your smoke detector is one of the most overlooked maintenance steps, yet it has a direct impact on performance. Dust buildup is one of the leading causes of false alarms or reduced sensitivity.
A quick cleaning every few months helps keep the sensor responsive and reliable.
Simple Cleaning Routine:
- Turn off power if the unit is hardwired
- Carefully remove the detector from its mounting bracket
- Use a vacuum with a soft brush attachment to remove dust
- Clean vents and openings gently without pushing debris inside
- Wipe the exterior casing with a dry microfiber cloth
Avoid using water, sprays, or chemical cleaners, as these can damage internal components or interfere with the sensor.
Battery-Powered vs. Hardwired Detectors
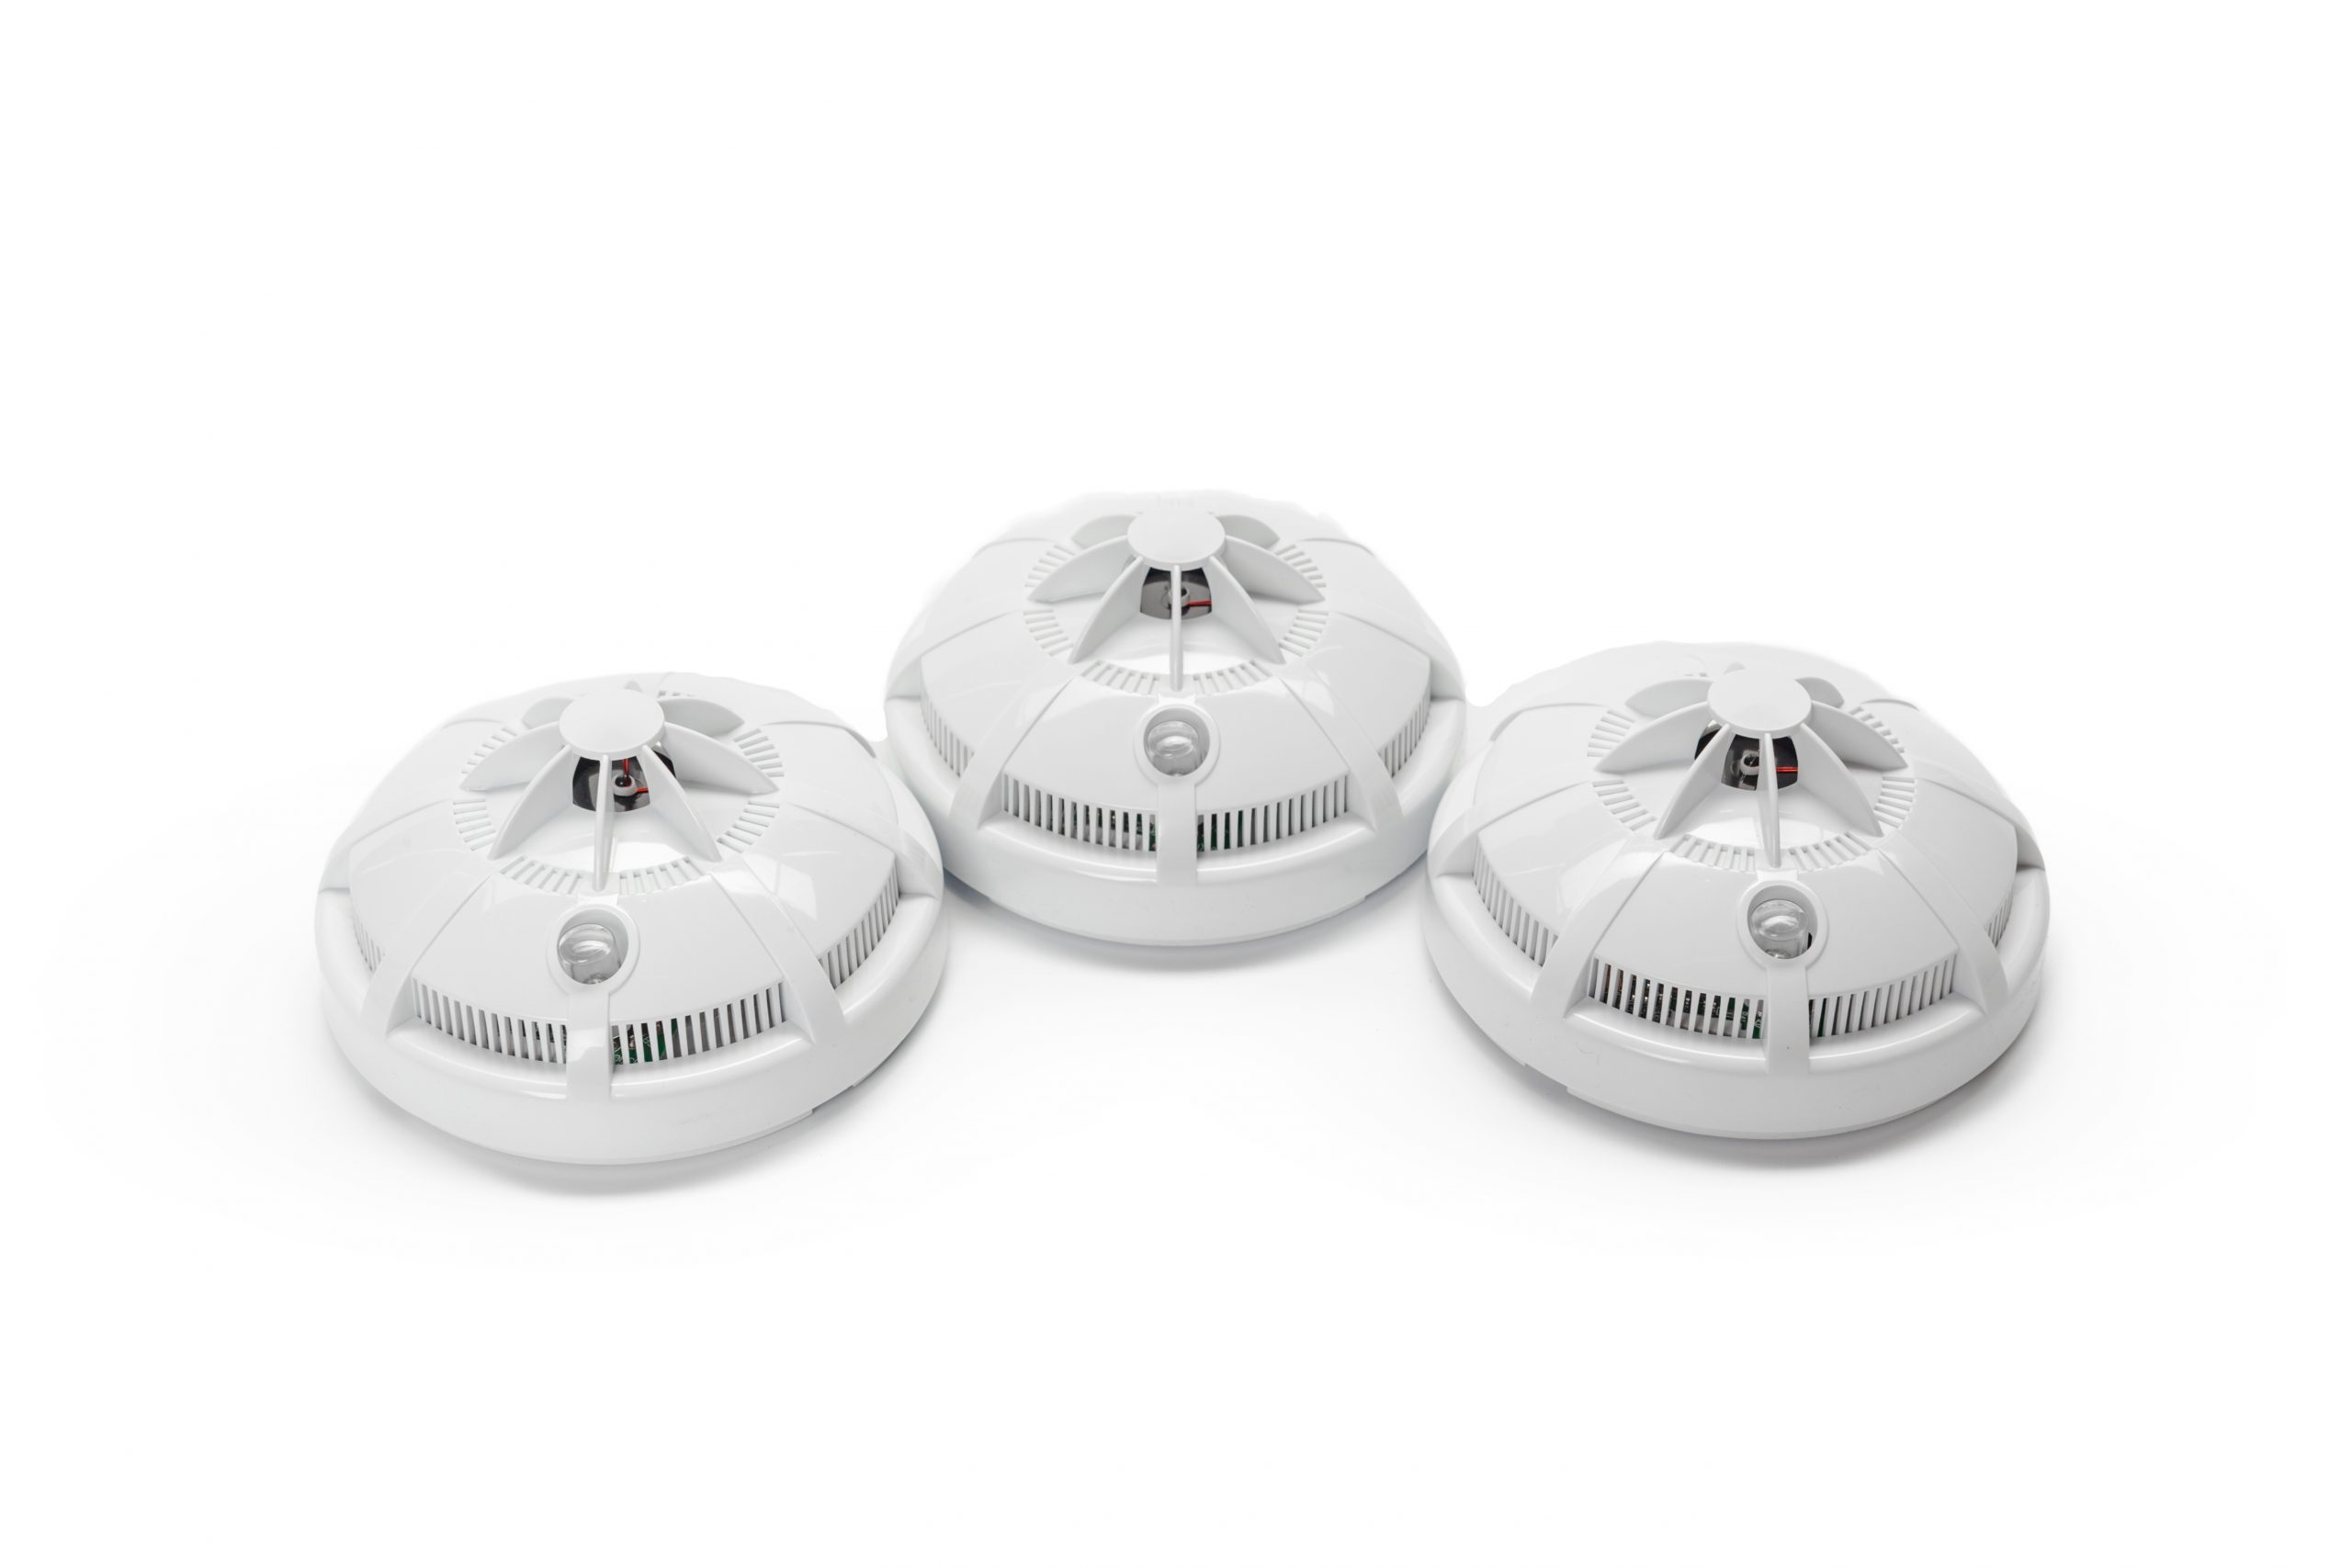
Understanding the type of smoke detector you have makes a big difference in how you maintain and test it.
Battery-powered and hardwired units function differently, but both require regular attention.
Battery-Powered Detectors:
- Easy to install and replace
- Require routine battery changes
- Common in older homes or renovations
- Fully dependent on battery health
Hardwired Detectors:
- Connected directly to your home’s electrical system
- Often include backup batteries for power outages
- Can be interconnected across multiple rooms
- Require both electrical and battery checks
Regardless of type, neither system is “set and forget.” Regular testing ensures both are functioning as intended.
What About Interconnected Alarms?
In many modern homes, smoke detectors are interconnected, meaning if one detects smoke or is triggered, all alarms sound at the same time. This improves response time and increases safety coverage.
When testing these systems, it’s important to verify that communication between units is working properly.
When Testing Interconnected Systems:
- Press the test button on a single detector
- Confirm that all alarms activate simultaneously
- Walk through the home to ensure sound reaches every area
- Pay attention to delays or weak signals between units
If only one alarm sounds, it may indicate a wiring issue or a communication failure between devices.
How Loud Should Your Smoke Detector Be?
A smoke detector is only useful if it can wake you up during an emergency. That means volume and clarity matter just as much as functionality.
A properly working alarm should be:
- Loud enough to be heard from every bedroom
- Distinct from background household noise
- Sharp and consistent, not muffled or fading
- Immediately attention-grabbing without delay
If the sound seems weak or inconsistent, it’s safer to replace the unit rather than rely on uncertain performance.
Common Mistakes First-Time Homeowners Make
Even responsible homeowners can overlook important details when it comes to smoke detector testing. Most mistakes come from assuming the system is fine without actually verifying it.
Watch Out for These Common Errors:
- Only testing when the low-battery warning appears
- Ignoring detectors in storage areas or hallways
- Forgetting to test after battery replacement
- Assuming newly built homes don’t need checks
- Keeping units long past their recommended lifespan
These small oversights can significantly reduce your home’s overall safety readiness.
When Should You Replace the Entire Unit?
Testing helps identify problems, but at some point replacement becomes the only reliable solution. Smoke detectors are not designed to last forever.
Replace Your Smoke Detector If:
- It is older than 8–10 years
- It fails multiple tests after troubleshooting
- The alarm sound is weak or inconsistent
- There is visible discoloration or physical damage
- It uses outdated technology without modern safety features
Most units have a manufacturing date on the back, which makes it easy to determine their age.
Are Smart Smoke Detectors Worth It?
Smart smoke detectors are becoming more common in modern homes, offering added convenience and real-time monitoring features.
Key Benefits Include:
- Mobile alerts when smoke is detected
- Self-testing and system diagnostics
- Voice alerts instead of simple alarms
- Integration with smart home systems
While they offer more functionality, they don’t replace the need for manual testing and maintenance. They still rely on the same basic principles as traditional detectors.
What Should You Do After Testing?
Once testing is complete, it’s helpful to take a few extra minutes to stay organized. This keeps your maintenance consistent over time.
- Record the date of your test
- Note any irregularities or weak responses
- Schedule your next monthly check
- Replace batteries if needed
Small tracking habits make it easier to maintain long-term consistency without relying on memory alone.
How to Make Testing Part of Your Routine
The easiest way to stay consistent is to connect smoke detector testing to habits you already have. Instead of treating it as a separate task, make it part of your monthly rhythm.
Simple Reminder Strategies:
- Test on the first day of every month
- Combine it with bill payments or cleaning schedules
- Set recurring phone reminders
- Align it with daylight saving time changes
Over time, this becomes a natural part of home upkeep.
What About Carbon Monoxide Detectors?
While smoke detectors are essential, carbon monoxide (CO) detectors are equally important and often overlooked. CO is invisible and odorless, making detection systems your only warning line.
They should follow similar maintenance habits:
- Monthly testing using the built-in button
- Regular battery replacement
- Full unit replacement every 5–7 years or as recommended
Both systems work together to provide full-home protection, and they should always be maintained with the same level of attention.
Final Thoughts
Owning a home means taking responsibility for the systems that keep you safe. Learning how to test a smoke detector is one of the simplest yet most important skills you can develop as a first-time homeowner.
It only takes a few minutes each month, but the payoff is significant: peace of mind, better protection, and confidence that your home is prepared for the unexpected. By staying consistent, paying attention to warning signs, and replacing units when needed, you’re not just maintaining your home—you’re actively protecting everyone inside it.