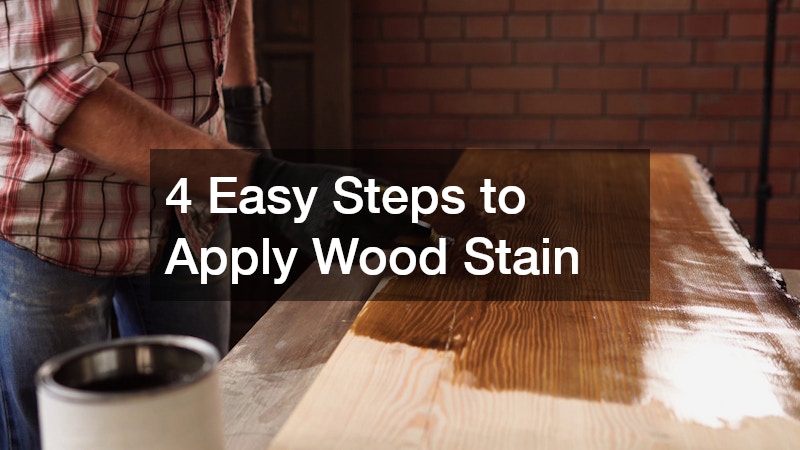
Applying wood stain can drastically enhance the beauty and durability of your wood projects. Whether you’re working on furniture, flooring, or other wooden items, understanding the process is crucial.
In this article, we outline four simple steps to help you achieve professional results with ease.
What materials do I need to apply wood stain?
Essential Tools and Supplies
Discover the basic tools you’ll need, including brushes, cloths, and sandpaper, and why each is important for a smooth staining process. Brushes aid in detailed work, cloths offer flexibility in application, and sandpaper is essential for preparing the surface. Quality tools can make a significant difference in the final outcome of your project. Investing in the right equipment ensures you achieve a professional-looking finish every time. The right supplies help you work efficiently and effectively, minimizing errors and achieving a consistent look. Having essential tools on hand also reduces the time spent on corrections and retouching.
Choosing the Right Type of Stain
Explore the different types of wood stain—oil-based, water-based, gel, and lacquer—and how to select the best one for your specific project. Oil-based stains penetrate deeply, enhancing the grain, while water-based stains offer vibrant colors. Gel stains are perfect for vertical surfaces as they do not drip, ensuring an even coat. Lacquer stains dry quickly, making them ideal for projects needing rapid turnaround times. Understanding the properties of each stain type helps in selecting the most appropriate one, providing both aesthetic appeal and functional benefits. This choice ultimately affects the longevity and durability of the finish.
How should I prepare the wood surface?
Sanding Techniques and Best Practices
Understand the importance of sanding and learn about various techniques and grit levels to create an optimal surface for staining. Begin with coarse grit sandpaper to smooth out any imperfections and finish with a fine grit for a polished look. Sanding opens up the wood pores, allowing it to absorb the stain evenly. Proper sanding techniques result in a smooth, uniform finish and enhance the wood’s natural beauty. Skipping the sanding process can lead to blotchy results and uneven stain penetration. Investing time in proper preparation sets the foundation for a successful staining project.
Cleaning and Conditioning the Wood
Learn how to properly clean your wood surface and use wood conditioners to ensure an even stain application. Dust and particles can interfere with stain adhesion, so a clean surface is essential. Wood conditioners are particularly important for softwoods, as they prevent blotchiness and allow the stain to penetrate uniformly. Applying a conditioner provides a more even and predictable finish. The cleaning and conditioning process helps in minimizing staining errors and enhancing the overall appearance. Effective preparation leads to a stunning and long-lasting result.
How do I apply the wood stain evenly?
Application Methods: Brushes vs. Cloths
Get insights on the benefits and drawbacks of using brushes versus cloths and find out what works best for different types of stains. Brushes are ideal for intricate areas, while cloths provide more control over the application. Both methods have their place in staining projects; choosing the right one depends on the surface size and desired finish. The choice of application method can significantly impact the final appearance of the wood. Experimenting with both can help determine personal preference and yield the most satisfying results. Understanding the strengths of each approach aids in executing advanced techniques when necessary.
Tips for Consistent and Smooth Application
Discover techniques for achieving a consistent finish, including how to handle overlaps and how many coats you might need. Applying thin layers helps prevent streaks and uneven color distribution. Patience is key; allowing each coat to dry thoroughly before applying the next ensures a smooth, even finish. Revisiting areas with overlaps can refine the appearance and meld different sections seamlessly. The practice of layering lets you achieve the desired depth of color without saturating the wood excessively. Once familiar with these techniques, achieving a flawless finish becomes second nature.
What is the best way to seal and protect the stain?
Types of Finishing Seals
Explore various sealants such as polyurethane, varnish, and wax, and their respective advantages for different projects. Polyurethane provides a durable, hard finish, protecting against scratches and spills. Varnish offers a glossy finish that highlights the wood’s natural beauty, while wax provides a subtle sheen and can be used on top of other finishes. Each sealant has its unique set of properties that can enhance the wood’s durability.
Selecting the appropriate sealant not only protects your wood but also enhances its appearance, contributing to the desired aesthetic. Understanding the functions of different sealants is essential for maximizing the lifespan of your woodwork.
Final Buffing and Maintenance Tips
Learn how to buff your final coat for a sleek finish, and get tips on maintaining your wood’s appearance over time. Buffing increases the luster and provides a final polish that unifies the surface. Regular maintenance, like dusting and occasional reapplication of a protective layer, preserves the wood’s finish. These efforts help maintain the beauty and integrity of the stained wood over an extended period. Taking proactive steps in maintenance extends the lifespan of your wood projects, preserving them for many years. A well-executed finish requires care and attention to retain its pristine condition.
These four steps provide a comprehensive guide to applying wood stain effectively, ensuring that your wood projects are not only beautiful but also long-lasting. By preparing properly, applying with care, and sealing with the right products, you can achieve professional results with ease.

